How to Build A Drystone Wall - Part Two.
If you read Part One and are back for Part Two, I’ve managed to make drystone walling sound just as intriguing as it is. In this blog, we’ll delve a bit deeper into the intricacies of drystone and get you even closer to building your first wall.
Retaining walls
Perfect to create flower beds and planting areas, retaining walls are incredibly useful to us in our gardens. Retaining walls, retain something (you guessed it) and are built slightly differently to freestanding walls. You can build them with two sides like a standard wall, or with one side, but both types require extensive packing behind the wall. They are as deep as they are tall. A 50cm high retaining wall will extend back into the earth behind it by 50cm. Below is a (rubbish) diagram I made to illustrate this.

The depth gives the wall the strength it requires to retain whatever is behind it. The number one reason retaining walls fail is that this rule hasn’t been adhered to. That and traced stone.
The wall in the photo below is a retaining wall that is partially built. It has been built with only one side and although I haven’t finished packing, you can see how I’ve carefully filled the space between the wall and the earth bank behind it with stone. Retaining walls require a lot of packing. You’ll need just as much stone to build a retaining wall as a standard wall.

Once you’ve built your retaining wall, you can cover over behind it with soil and decide what copes you would like to use. Cope stones are another structural element to the wall but are also an opportunity to play around with styles. You have several choices of how you lay your cope stones. I’ve listed a few below.
Copes
Vertical copes - A single upright stone that spans the width of your wall.
Flat copes - Single cope stone used to span the width of the wall. Laid flat instead of upright.
Double copes - Where two, upright cope stones are used to span the width of the wall. Placed in an interlocking fashion, staggering the joins, to ensure stability.
Below is an example of each.


There should be no stones rattling around on the top of your wall. So, copes should be pinned. Pins are smaller stones placed between larger stones to stop movement, and these can be placed at the back of your copes (out of sight) to ensure as much contact as possible. You want your copes to be one, unmoving entity.
Then you have a fully functioning retaining wall. Here’s one I built in my own garden to create a raised bed. Adding flat copes created a casual seating area, and who doesn’t like the feeling of warm stone on their bum?

Cheekends
Beginning and ending your walls can be done in several ways. Each method has advantages and disadvantages as well as its own unique aesthetic.
Building up from/into the ground -The advantage of this method is that no special stones are required. The difficulty you might face is building the angle required whilst keeping your stones level.
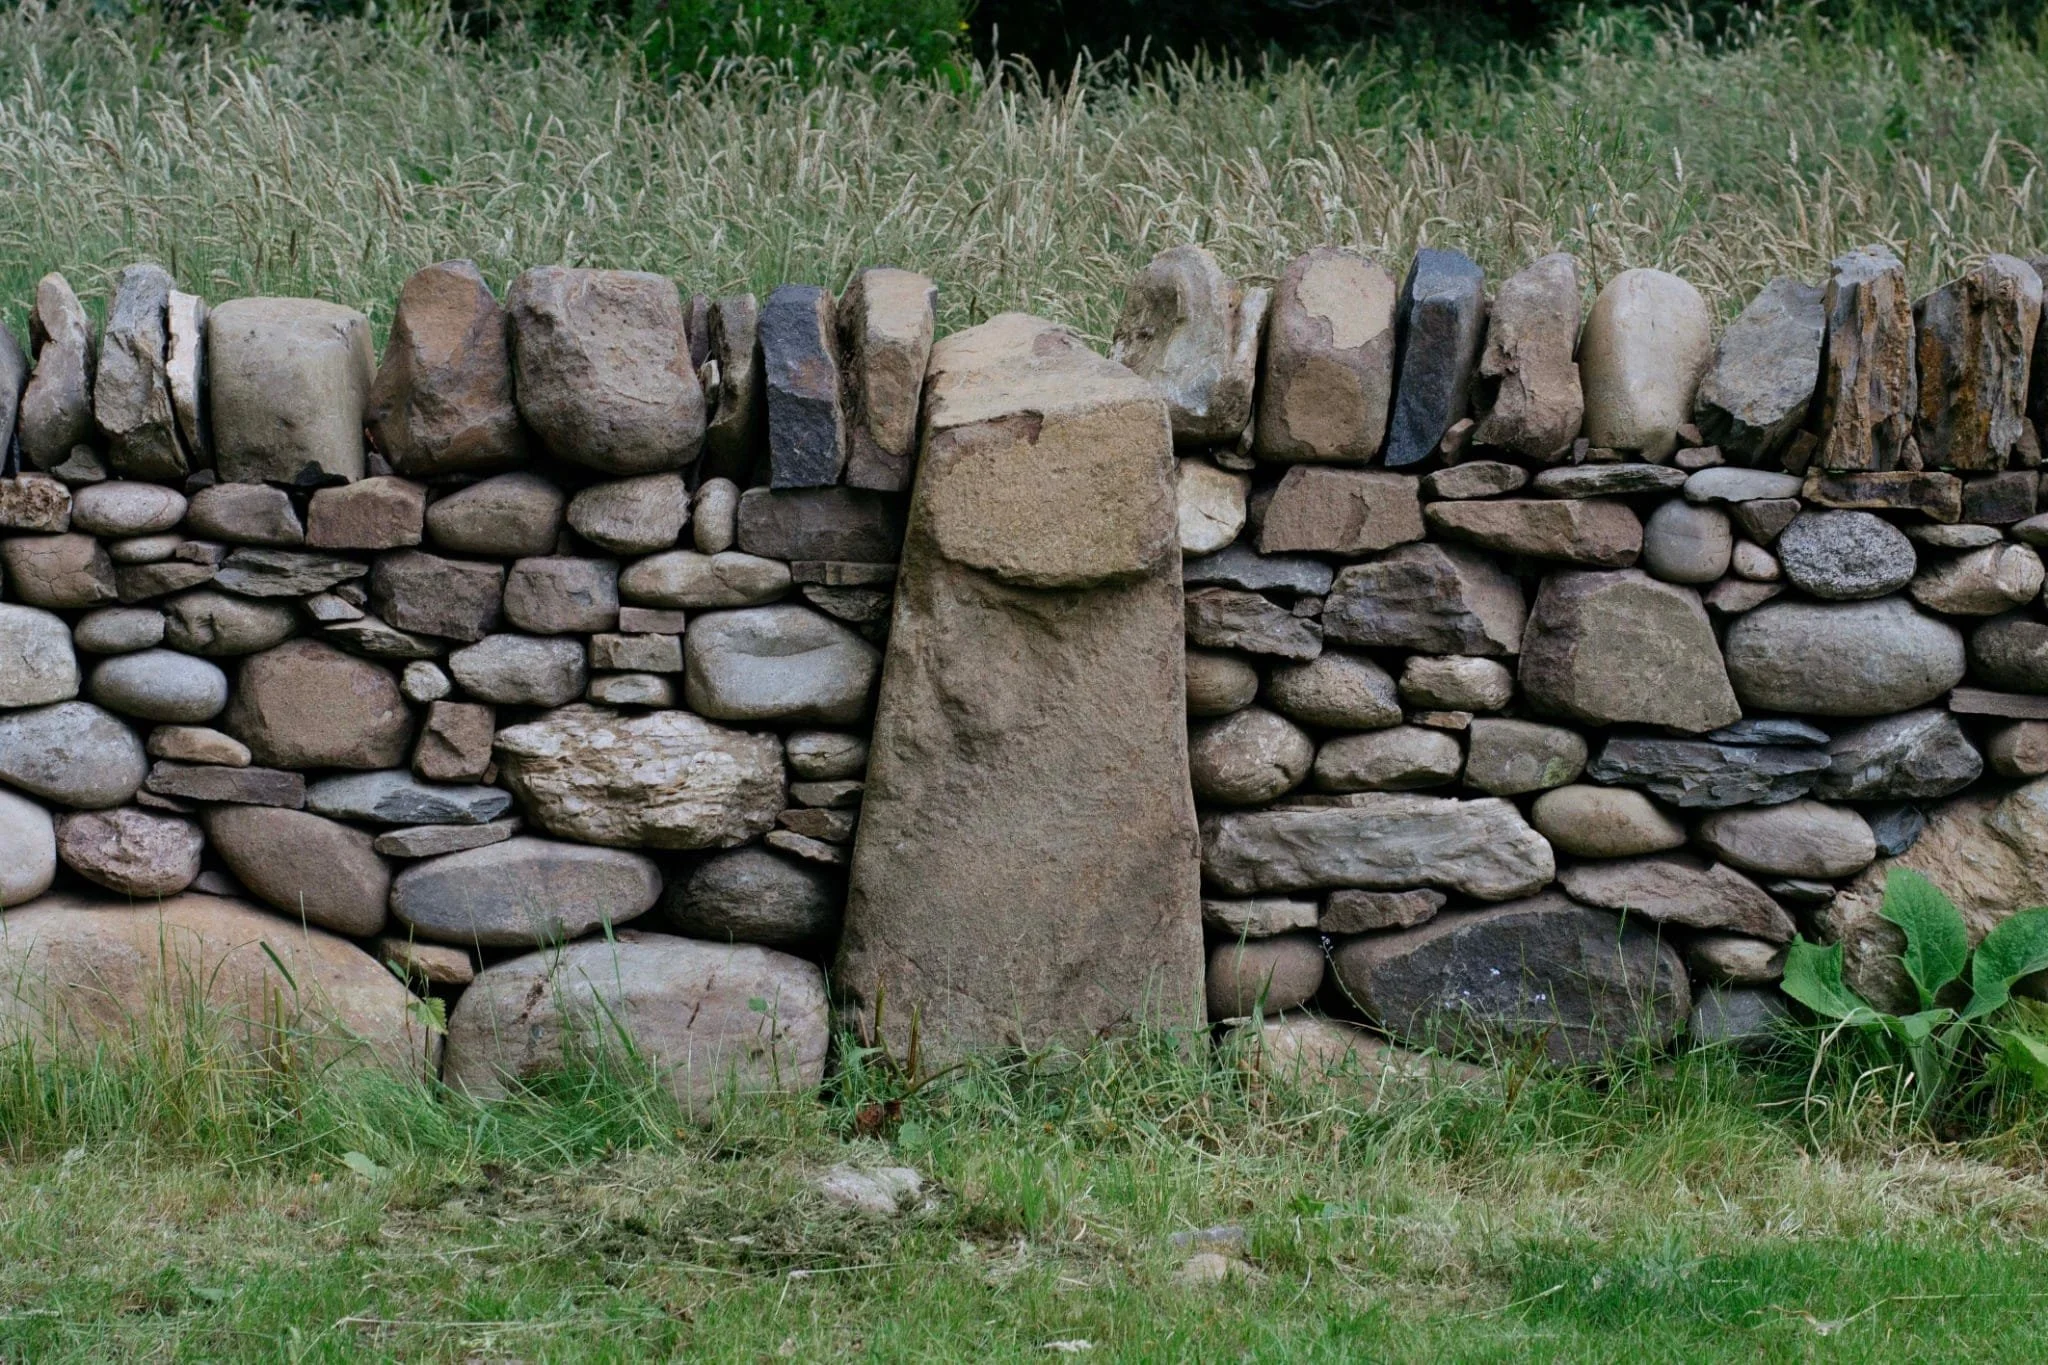
Building into to a feature stone/boulder/stone post - This requires no extra skills to build, but you may have issues finding or manoeuvring large stones into place. You can also build a cheekend against the boulder for extra structural strength.
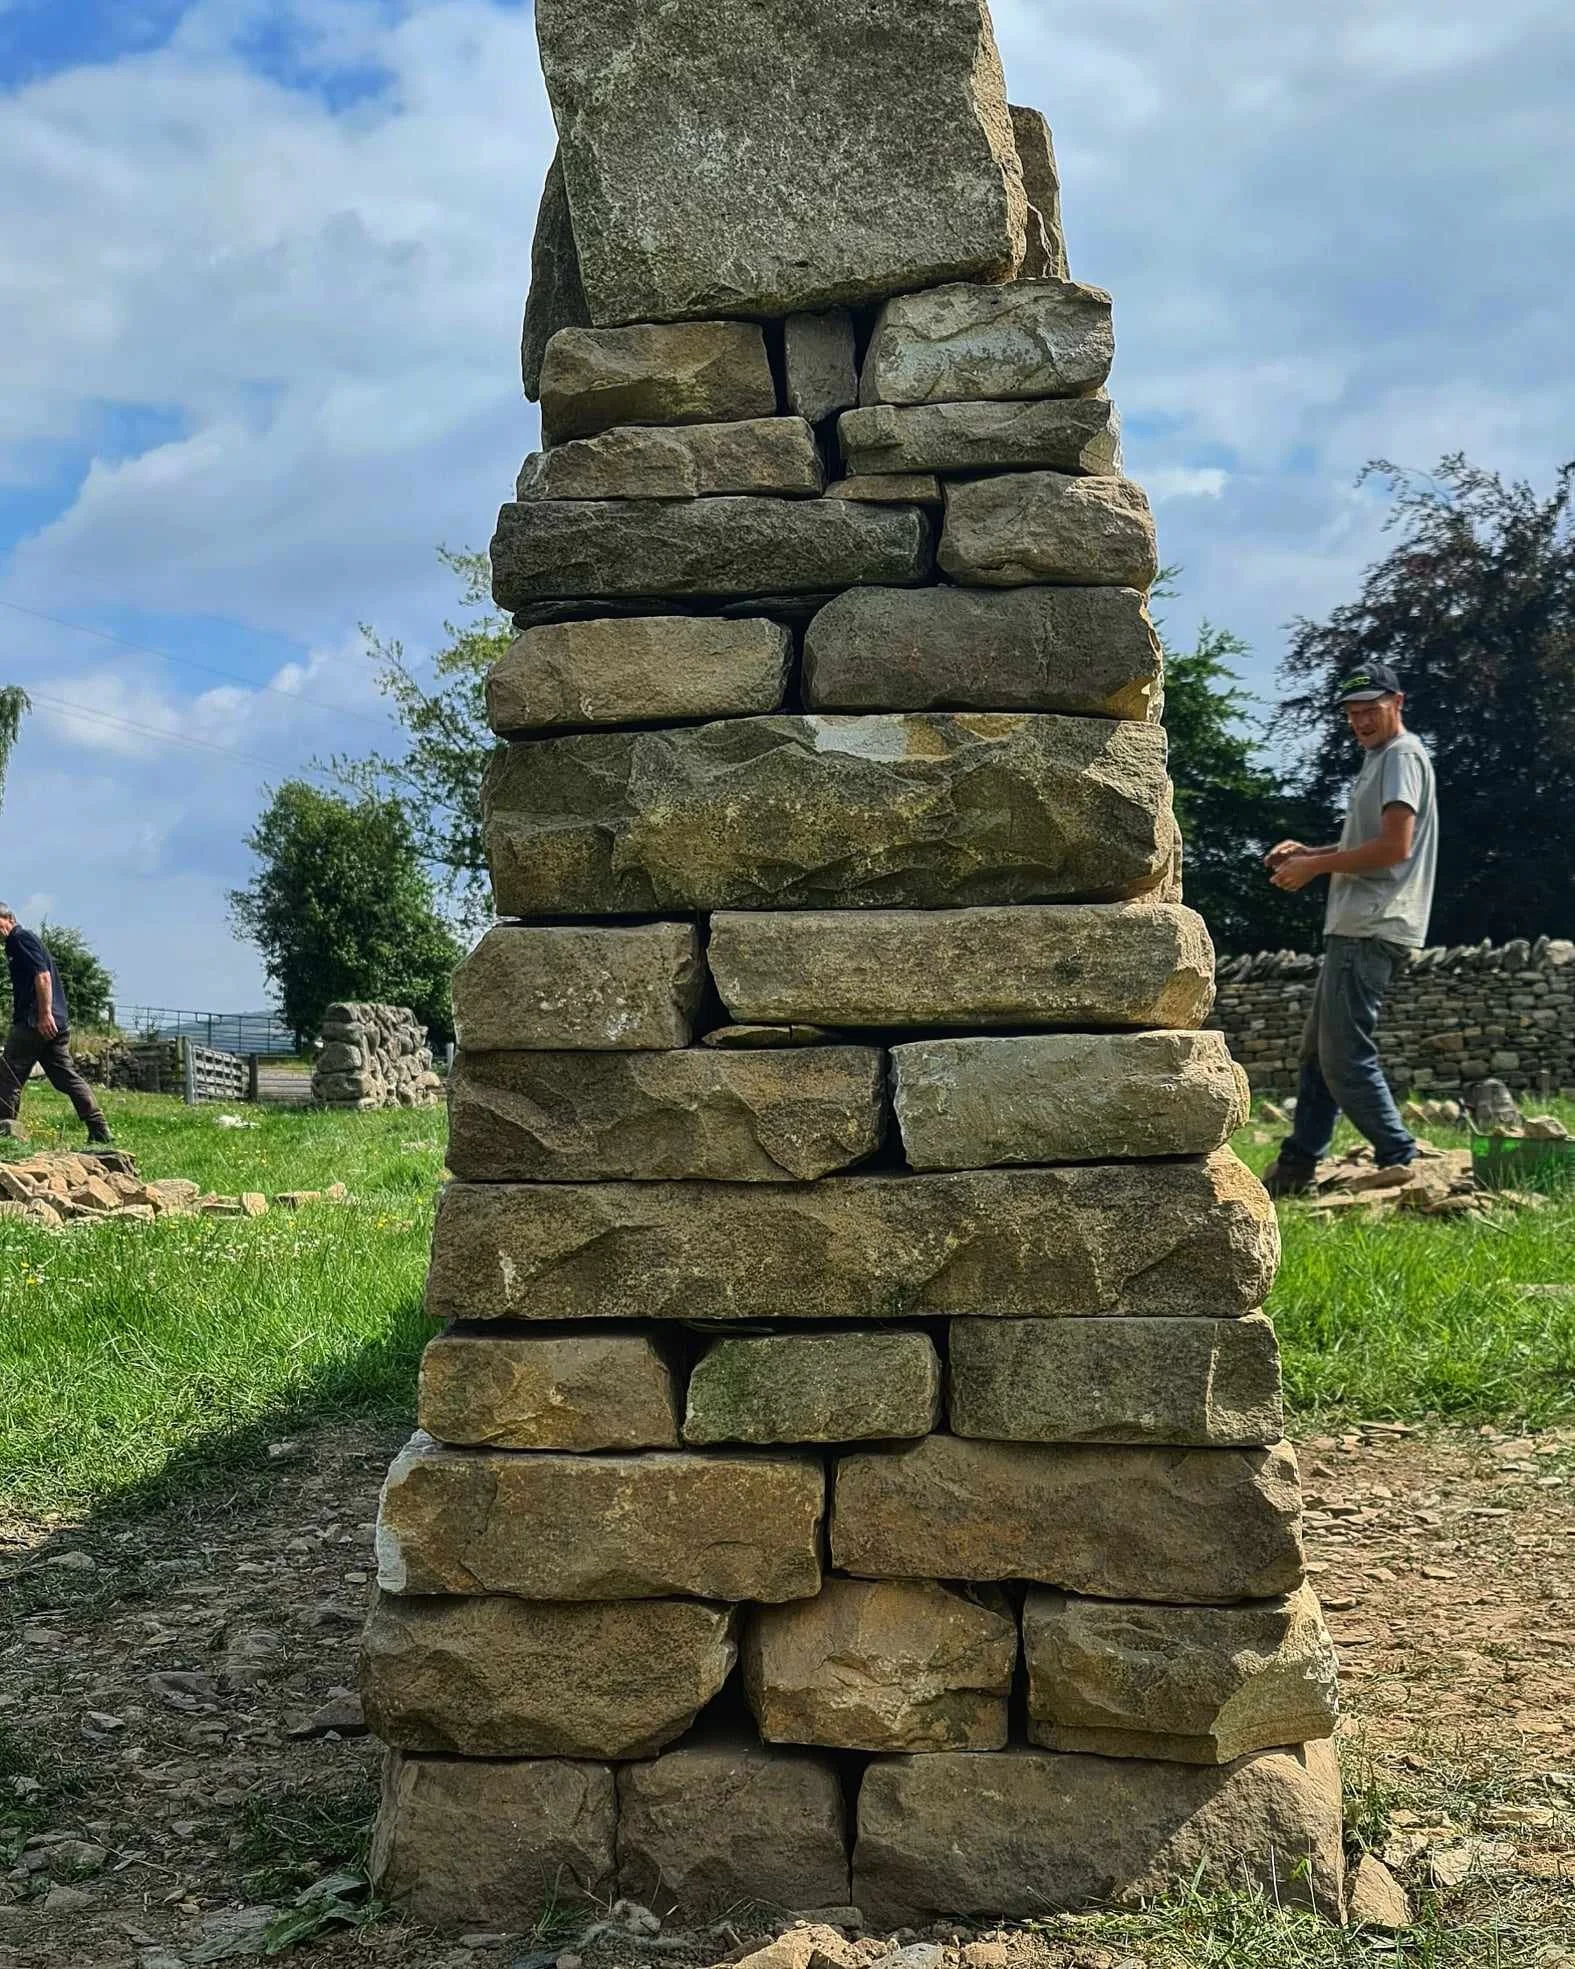
Cheekend - If you don’t have a boulder to build into, or need your wall to stay at height, cheekends are what you want. When done well, cheekends look incredibly neat but you need the right stones. They’re also the hardest of the three methods to build.
Below is an example of each method.


The first two examples are fairly self-explanatory so I’ll concentrate my efforts on describing how to build a cheekend.
As I explained in part one you should organise your stone before your start building. Setting aside copes, throughs and cheekend pieces ahead of time.
The ideal cheekend pieces have 90 degree angles. They’re flat. They’re long. But honestly, all three qualities are very hard to find in a stone. The example I’ve shown of a cheekend in the image above is very neat, in the wild, with rougher stone, cheekends look rougher too.
Think of cheekends as having two elements; runners and ties.
Runners run along the length of the wall.
Ties tie the wall together across its width.
Ideally a tie is one stone across the width of the wall, and on the next course above that will be two runners, running along the length of the wall. Then the course above that is a tie, then two runners etc etc etc until you’re at the top of your wall. Below is an example of what would be considered a virtually perfect tie. Two long stones (runners) that extend length into the wall would be placed on top of this.

However, It is highly unlikely that you will find yourself in the possession of stones that allow you to build a whole cheekend like this. So, you must endeavour to build across the width, and then along the length of the wall using the stones that you have.
If, like the rest of us, you don’t have perfect cheekend stones you can build using an ‘L-shaped’ construction method.
Each colour below represents a new course on your cheekend. As you can see, the L-shape flips horizontally. Always crossing joins.


Or sometimes you will use three stones to create the L-shapes as you can see in the examples below. Always crossing your joins.


Below are a few examples of cheekends. Often ‘Ties and runners’ and the ‘L-shaped’ method are blended based on the stone that is available. And as always in walling, a strong wall is more important than a bonnie one, so as long as it’s built well, don’t stress too much about how it looks. Sexy walls come in time.


Through Stones
Through stones give your wall extra strength as well as helping it settle more evenly.
Most often used in walls of standard height or higher, through stones span the width of your wall at around half its height (in very tall walls there are sometimes two layers of throughs), and are placed roughly every metre along a wall’s length. Due to their size through stones are hard to find, and it’s rare to find walls (certainly in Scotland) that have regularly placed throughs.
Throughs are ideal, but walls can, and are, built without them. I would advise though that any wall built over standard height (1.2m) should have at least some throughs in it. As many as you can find. Below is a wall we built with a line of throughs placed every 1.5m. We simply couldn’t find enough to place them every metre. As you can see, some of the through stones are protruding from the wall, this is fine. Especially if you like that rustic look.

Copes, throughs and cheekend stones can be very large and very heavy. Be aware of your body and don’t try to push past pain or extreme strain. If you need to move a heavy stone higher up the wall, build platforms using the other stones you have and move it small distances at a time. If you’re impatient, you’ll learn the hard way (I am speaking from experience).
In Part Three I will discuss corners, some common features found in walls, and the sexiest part of drystone, snecks.